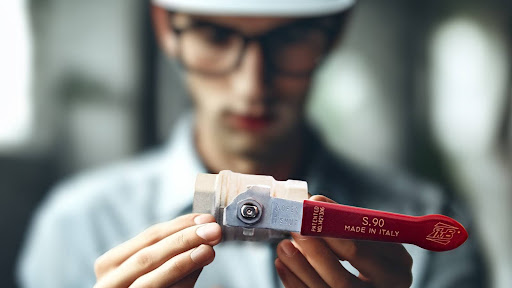
Why proper ball valve replacement matters
Understanding the right way to replace a ball valve is key to keeping any fluid control system safe and efficient. In this guide, you’ll find a practical overview of each step—from preparation and removal to installation and testing—to ensure a smooth and safe replacement process. High-quality RuB valves from RuB Inc. are designed to make every replacement operation easier, ensuring reliable sealing and durability throughout their service life. Whether you are maintaining residential plumbing, HVAC lines, or industrial pipelines, following a clear process helps prevent leaks, ensures consistent flow and extends the life of the system. By adhering to RuB Inc.’s official installation and replacement standards, users can achieve reliable, long-lasting results.
1. Safety first: preparation before starting
Before you begin the process of replacing or changing a ball valve, make sure the system is fully depressurized and drained. Open and close the valve several times to eliminate trapped pressure. The RuB Inc. installation guide (IMO002.08) recommends leaving the valve half-open during removal to allow any residual fluid to escape safely. Always wear proper protective equipment—such as gloves and goggles—and dispose of fluids and old parts according to local safety regulations.
2. Removing the old ball valve
To safely remove an existing valve, use two wrenches of the correct size. One should be placed on the valve body near the connection being loosened, and the other on the pipe to stabilize it. Avoid turning from the opposite side, which can damage the body-cap joint or cause unintentional disassembly. Proper removal techniques prevent thread damage and protect the valve’s connection points.
3. Preparing for installation
Before installing the new ball valve, inspect both the pipe ends and the valve itself. Ensure the threads are clean and correctly aligned. Apply an appropriate sealant or PTFE tape to the male threads for a tight, leak-proof seal. Always check that the replacement valve’s specifications—pressure rating, size and material—match the system requirements before installation.
4. Installing the new RuB valve
For threaded ball valves, use a wrench on the valve body near the tightening point to prevent stress on the cap-body joint. Tighten with care and maintain proper alignment to avoid twisting or bending.
For solder-end valves, follow RuB Inc.’s installation steps:
- Keep the valve closed during soldering to protect internal components.
- Wrap the valve body with a wet cloth to dissipate heat.
- Solder one end at a time and allow the valve to cool between joints.
These steps ensure correct installation, full sealing capability and consistent performance.
5. Final testing and inspection
After completing installation, operate the valve several times to verify smooth movement and proper alignment. Gradually pressurize the system and inspect all joints for leaks. If any seepage appears, depressurize, adjust fittings and repeat testing. Perform a full operational check to confirm the valve performs as expected under normal working pressure.
Key takeaways for replacing a ball valve
Knowing how to change a ball valve correctly reduces maintenance time and ensures your system operates safely and efficiently. Precision-engineered RuB valves deliver long-term performance, easy installation and exceptional sealing. For full technical instructions, consult the official RuB Inc. IMO002 manual, available in the download section of our website.
Looking for expert assistance or have questions about valve replacement? Contact our team for technical support and personalized guidance on choosing the right solution for your system.